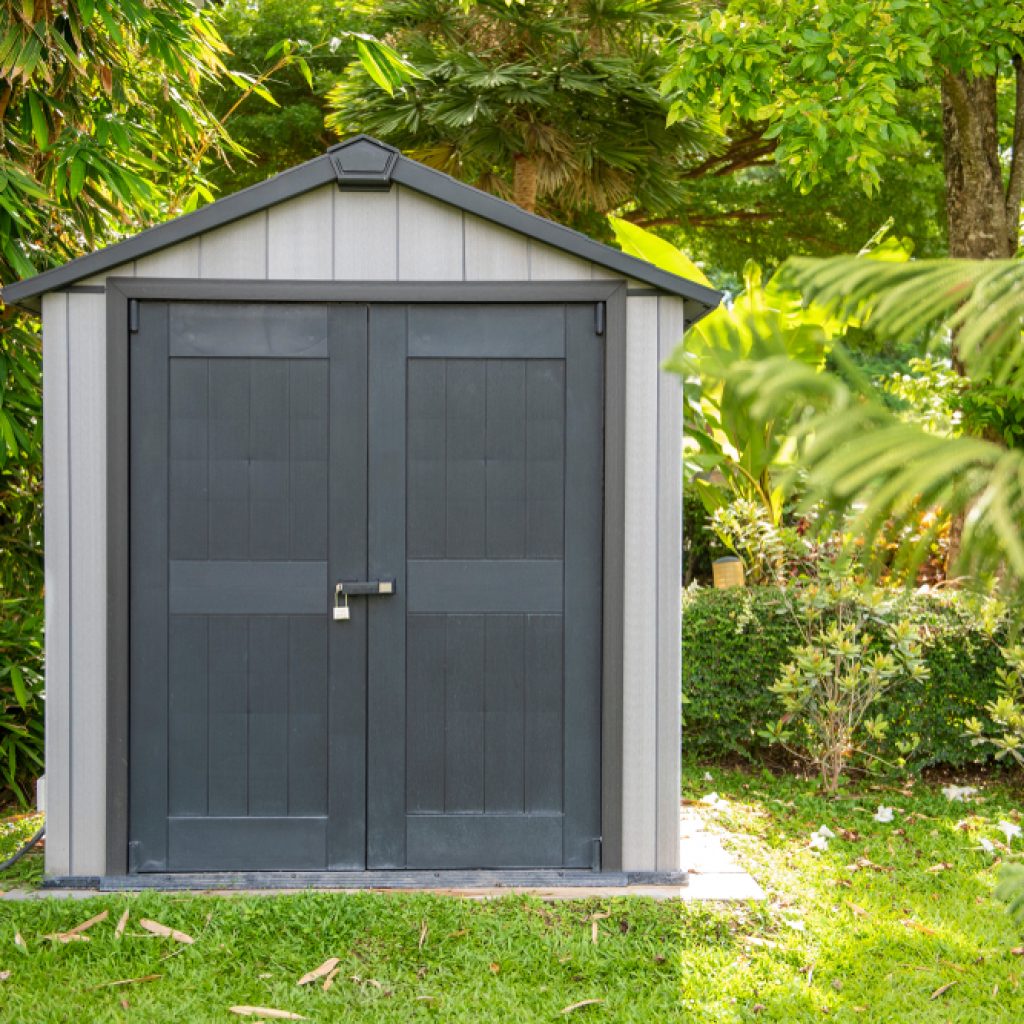
A backyard shed can be many things: a storage space for your gardening equipment, a workshop for DIY projects, an extra study or office, an entertainment zone, or even a home gym. When you build your own shed from scratch, you can avoid the higher cost of a fully prebuilt shed, save money on contractor’s fees and design your shed completely to your own tastes while working at a pace that suits you.
However, before you can start building the shed itself, you have to prepare your site for the shed. A stable base with a strong foundation helps you avoid structural problems further down the line. Preparing the site for the shed helps the building process run smoothly and keeps your shed standing for longer. It helps facilitate proper drainage, reducing the risk of water damage, and makes it easier to comply with your area’s building requirements.
If you’re new to tackling DIY projects, Ryno Hire will take you through the whole process of how to prepare your site for your shed. A Brisbane-based company with more than a decade of earthmoving experience, we help Queenslanders get the job done using the power of dry hire. Here’s the Ryno Hire guide to how you can prepare the ground in your backyard so that it’s fit to build a shed on.
1. Choosing and Assessing the Shed Location
It’s essential to make a plan before you build a shed, and an important part of the plan is the shed’s location. You’ll want to choose an area of ground that’s level and flat and has good drainage in order to give your shed a solid foundation and ensure it doesn’t become waterlogged after rain.
Chances are you also want to put the shed in a spot that’s a bit of a Goldilocks zone: you don’t want it drawing attention away from your garden’s more attractive features, but you also don’t want it to be too far a walk from your garden. Access is essential; if you’re going to move large items like wheelbarrows in and out of the shed, you’ll want to make sure there’s a clear path. Finally, you’ll want to make sure your shed’s location complies with local zoning laws and is in close proximity to utilities if you need power or water.
One element of planning you can’t afford to skip is making sure your shed complies with all local building standards and requirements. That means meeting all the council’s building standards, size limits, etc. If your shed is within the acceptable parameters of Building Regulation 2021 and the Queensland Development Code, you won’t need building approval.
2. Clearing and Levelling the Site
A strong, level base starts with clearing the debris off the ground, a process that can take longer than you expect. Remove organic materials like grass, trees and roots with equipment like a mini loader, then check for smaller objects like rocks and rubble. The clearer and flatter the ground, the more stable your eventual foundation. Once all the debris is gone, compact the existing ground to remove any air pockets that might later cause ground settling.
Ground levelling and any other kind of foundation work should be done a minimum of three weeks before you start building the shed to allow the soil to settle.
3. Ensuring Proper Drainage and Stability
If you don’t plan for drainage, water can accumulate around your shed during heavy rainfall and cause the ground to become wet and unstable. Over time, this can compromise your shed’s stability and even cause structural damage.
To prepare your site for a shed, prepare for rainfall. Build away from an area where water tends to collect. Two worthwhile ideas to consider are building it on a rise or beefing up the ground with extra soil.
Planning to put guttering and downpipes on your shed can direct rainwater away from the base and prevent it from causing damage. If you typically have heavy rainfall, you may have to consider more elaborate drainage systems.
4. Preparing and Compacting the Base
Once you’ve prepared the ground so it’s right to build a shed on, it’s time to lay and compact the base. Spread a layer of gravel around 2-4 inches. This layer will help distribute the weight of the concrete more easily, ensuring it doesn’t crack or settle, as well as improving drainage by preventing water from pooling beneath the concrete.
The gravel will need to be compacted in order to keep it stable and make sure it doesn’t shift over time. But for it to be effective, you need to use a machine such as a compactor to go over the gravel and make sure it’s tightly packed. Once you’re certain the ground is stable enough to be effective, you can pour the concrete mix.
5. Final Steps Before Shed Installation
You’re now at an exciting part of the process. You’ve laid the foundation, your project is beginning to take shape, and you’re ready to build the shed of your dreams. Here are some final steps to implement before you can get stuck into construction:
Allow the concrete to cure
Walking on the concrete too soon can cause it to crack or weaken its integrity. Concrete is dry within 24-48 hours, but it takes at least 28 days to fully cure and reach its full strength.
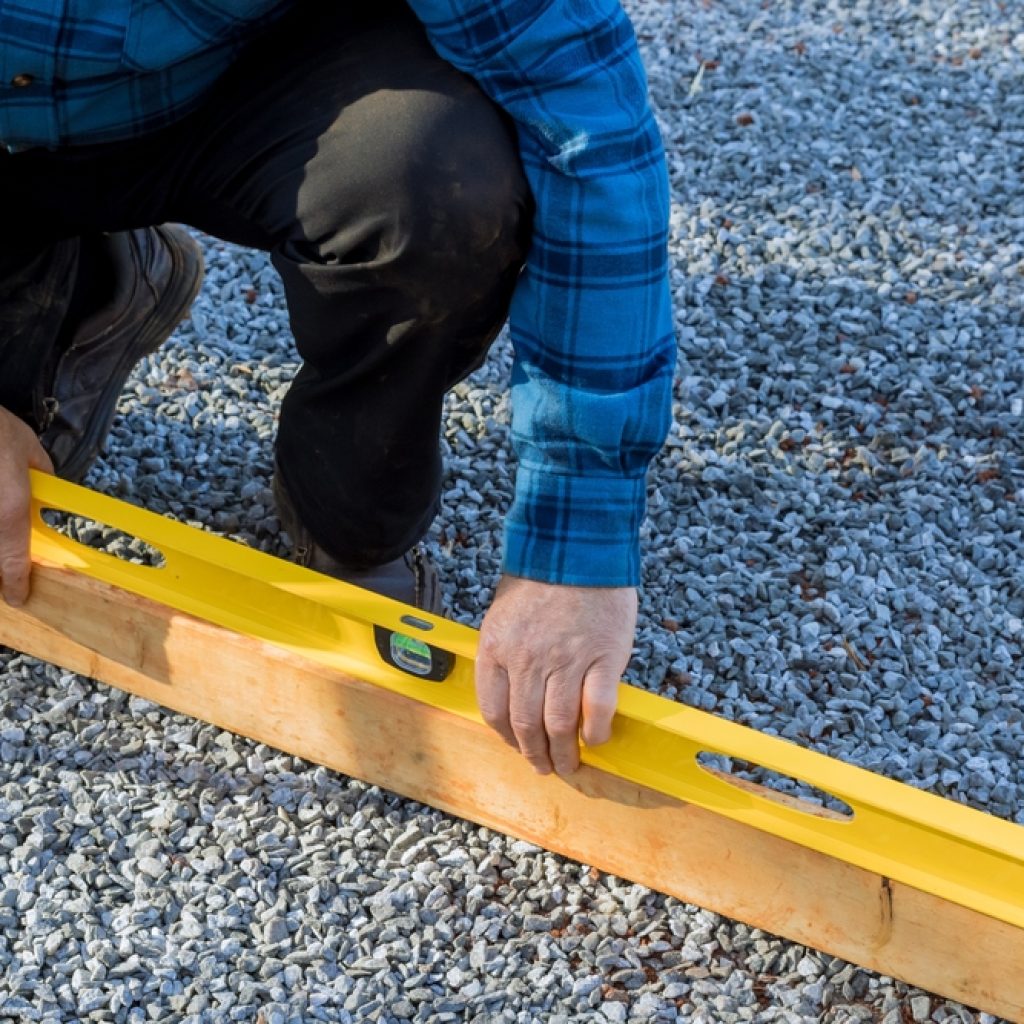
Check the base is flat
An uneven foundation can cause alignment issues with the shed. Use a level or straight edge to make sure the base is even across the whole surface and free from bumps or dips.
Inspect the drainage
Ensure that water drains in the direction away from the slab and not towards it.
Mark the anchor points
If your shed will require anchor points or brackets, make a mark to signify where these will go.
Clean the slab
Sweep or pressure-wash any dirt, oil or other debris that may interfere with your installation of the shed.
Dry Hire the Machinery You Need From Ryno Hire

From Ryno Hire, you canhire the DIY equipment you need for all kinds of DIY and backyard projects, including preparing a site for a shed. Ryno Hire’s selection includes commonly used machinery like excavators, loaders, micro loaders, tipper trucks, compactors and specialised equipment. All equipment is well-maintained and available at some of the best rates around.
Ryno Hire’s compaction machinery hire is perfect for construction and landscaping projects and includes pad-foot rollers, tandem smooth rollers, vibe plates and rammers.
A family-owned and operated business with more than a decade of earthmoving experience behind us, Ryno Hire specialises in dry hire (operate yourself) equipment. All you need is a valid Australian open driver’s licence, and you can hire our equipment for as little as a day or as long as a year. Dry hire saves you on the contractor’s fees and brings the cost of the project down.
With no additional charges for insurance and customer service that is second to none, we think we provide a deal that’s hard to beat.
Need some help finding the right equipment to prepare your site for a shed? Contact Ryno Hire on 07 3353 2230 or make an enquiry online.
15 October 2025